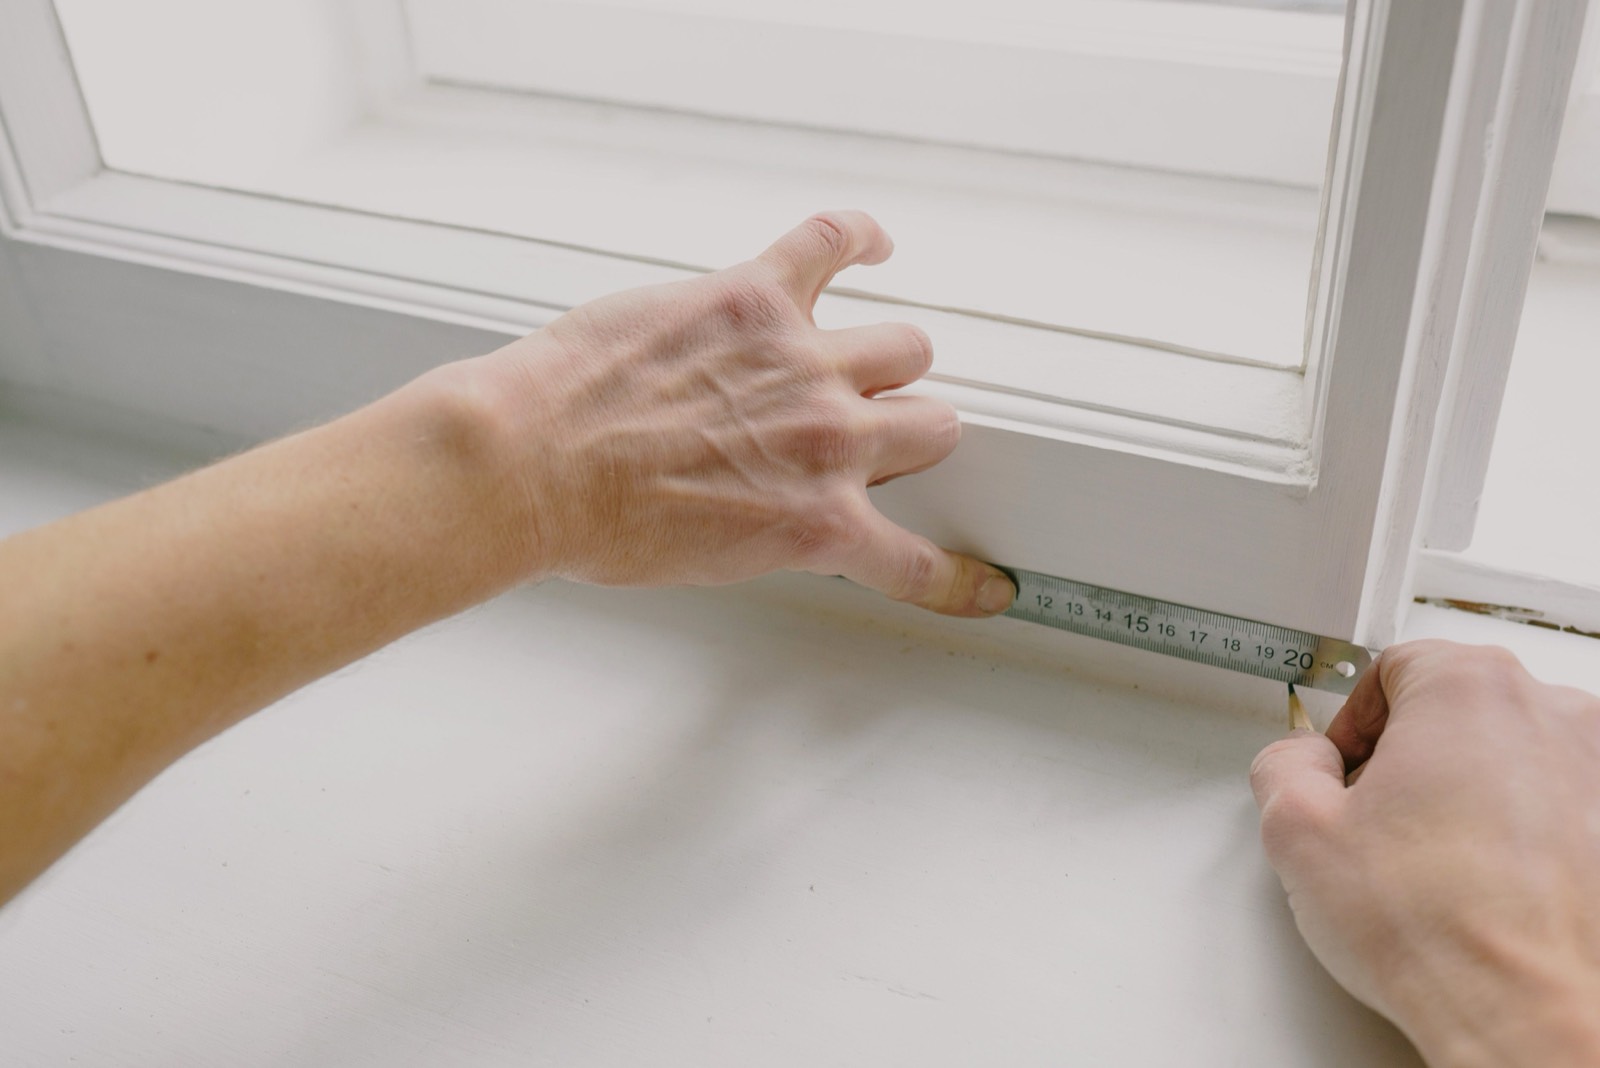
Every experienced retailer has a story about an order that went wrong because of a measurement. A track ordered five centimetres too short. A blind quoted for recess fit that turned out to need a face fit. A pair of curtains that pooled awkwardly on the floor because the drop was taken from the wrong point. These mistakes are rarely about skill. They happen because measuring is treated as a quick formality rather than a structured process, and because the person measuring and the person making the curtains are not always working from the same assumptions.
This guide sets out a repeatable measuring process for curtains and blinds, the terminology that prevents miscommunication between showroom staff and the workroom, and the checks worth building into every home visit.
What you need before you start
A proper measuring visit takes ten to fifteen minutes per window and needs almost no specialist equipment:
- A steel tape measure. Fabric or plastic tapes stretch and sag over a metre or more, which introduces exactly the kind of small error that adds up. A retractable steel tape, at least 3 metres long, is the standard.
- A laser measure for larger openings. For bay windows, patio doors, and anything wider than the tape can span in one pull, a laser measure removes the guesswork of holding a tape taut across a gap.
- A measuring record sheet. Whether on paper or a tablet, every measurement should be written down at the window, not recalled later from memory. Include a small sketch of the window with each measurement labelled.
- A step stool. Guessing the height of a pole position from the floor is a common source of error on tall windows.
Measuring width
Width is measured differently depending on whether the finished product will hang inside the recess or outside it, and the two numbers are not interchangeable.
Recess width. Measure the internal width of the window recess at three points: near the top, in the middle, and near the bottom. Older properties in particular are rarely perfectly square, and recesses can vary by a centimetre or more between the top and bottom of the same window. Always record the narrowest of the three measurements and use that figure, since a blind or track ordered to the widest point may not fit at the narrowest.
Outside recess (face fit) width. For curtains on a pole or track fitted above and outside the window, measure the wall-to-wall span you intend to cover, then add allowance on each side for the pole or track to extend beyond the recess. As a rule of thumb, extending 15 to 25 centimetres past each side of the recess lets the curtains stack fully off the glass when open, which matters more than most customers realise until they see how much light a poorly sized track blocks even when the curtains are drawn back.
Measuring drop (length)
Drop is measured from the point where the curtain or blind will hang down to where it should finish, and the starting point depends entirely on the heading and hardware.
- From a pole: measure from the bottom of the curtain ring, not the top of the pole itself, since the ring adds several centimetres.
- From a track: measure from the top of the track, as the heading tape sits directly against it.
- Recess-fit blinds: measure the full internal height of the recess at the left, centre, and right, and again use the shortest measurement to avoid a blind that cannot close into the recess.
For the finish point, ask the customer their preference rather than assuming. Common choices are sill length (just touching or 1 to 2 centimetres above the windowsill), below sill (10 to 15 centimetres past the sill, often used over a radiator), and floor length (either just clearing the floor by 1 to 2 centimetres, or a deliberate break where the fabric puddles slightly for a more formal look). Write down which one was agreed, since "floor length" means something different to every customer.
Hardware and obstacles
A window measurement is not complete without a note of what surrounds it. A handful of checks prevent problems that only surface at fitting:
- Wall construction. Solid brick, plasterboard, and dot-and-dab walls all take fixings differently. Plasterboard in particular may need cavity fixings or a batten, which changes the installation time and sometimes the price.
- Obstructions. Radiators, window handles that protrude into the room, alarm sensors, and skirting boards can all limit how low a pole can sit or how far a blind can extend. Note anything within the swing radius of the curtain or the travel path of a blind.
- Ceiling height and coving. Decorative coving near the top of a window can restrict how high a pole or track can be fixed, particularly for wave heading, which needs more clearance above the track than other styles.
- Power sockets and switches. Curtains that stack back over a socket are a common, easily avoided complaint if nobody checks for one during the visit.
Fabric and fullness calculations
Once width and drop are confirmed, the amount of fabric required depends on the heading's fullness ratio, the fabric width, and any pattern repeat.
| Heading style | Typical fullness ratio | Fabric needed for a 2m track |
|---|---|---|
| Tab top | 1.5x | 3.0m per drop |
| Eyelet | 1.5-2x | 3.0-4.0m per drop |
| Wave / S-fold | 1.8-2.2x | 3.6-4.4m per drop |
| Pencil pleat / pinch pleat | 2-2.5x | 4.0-5.0m per drop |
| Goblet pleat | 2-2.5x | 4.0-5.0m per drop |
If the fabric has a pattern repeat, add extra length per drop equal to one full repeat so that patterns line up across multiple widths and, for a pair, across both curtains. On a large-scale print with a 64 centimetre repeat, this can add close to half a metre to each drop, and it is a cost the customer should see quoted, not one that gets absorbed after the fact.
Recording measurements so nothing gets lost in translation
Most measuring mistakes that make it through to a finished order are not measuring mistakes at all. They are communication mistakes, where a correct number was written down but the wrong number reached the workroom, or a note like "measured to sill" was ambiguous about which sill on a window with a deep reveal. A few habits close this gap:
- Record every measurement at the window on a standard form, never from memory once back at the shop.
- Note recess and outside-recess width separately, even if only one will be used, so there is a record to check against if a query comes up later.
- Photograph the window alongside the measurement sheet. A photo takes seconds and resolves most disputes about what was actually agreed on site.
- Confirm the finish point and heading style back to the customer in writing before the order is placed, not just verbally during the visit.
The photo is also where visualization earns its place in the process, rather than being treated as a separate sales step. A photo taken during the measuring visit can be turned into a rendering of the finished curtains or blinds in that exact window, which gives the customer one more chance to confirm the drop, the fullness, and the hardware before anything is cut. Retailers who fold this into the measuring visit itself, rather than a separate showroom appointment, catch a meaningful share of misunderstandings before they become a remake.
A quick pre-order checklist
Before any measurement goes to the workroom, it is worth running through a short checklist:
- Was the narrowest and shortest of the three recess measurements used, not the widest or tallest?
- Is it clear from the notes whether the width is recess or outside-recess?
- Is the drop measured from the correct starting point for the chosen hardware?
- Has the finish point (sill, below sill, floor, puddle) been confirmed with the customer, not assumed?
- Have obstructions, wall type, and pattern repeat been noted and priced accordingly?
None of these steps are complicated on their own. What makes measuring reliable is treating it as a fixed process every member of staff follows the same way, rather than something experienced staff do from habit and newer staff improvise. A written process is also what makes it possible to train someone new without the first few months of their measuring visits being a gamble.
Confirm every measurement before you cut fabric
Turn the photo from your measuring visit into a realistic preview of the finished curtains or blinds. 10 free credits included, no credit card needed.
Get Started Free